


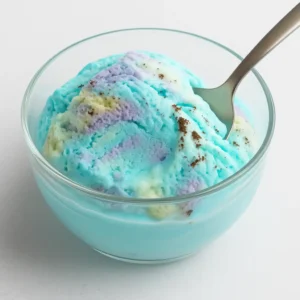
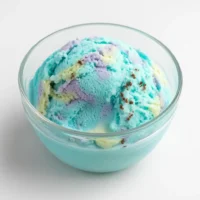
I kept seeing photos of Moonbeam Ice Cream everywhere—bright swirls of blue, purple, and yellow tucked into creamy vanilla. It looked like a galaxy in a scoop, and I had to try making it myself. The good news? You don’t need an ice cream maker. With a few simple ingredients, you can whip up this no-churn pastel treat at home.
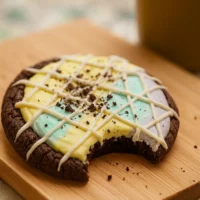
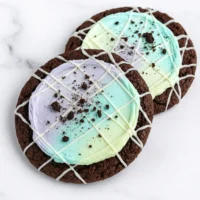
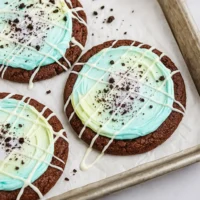
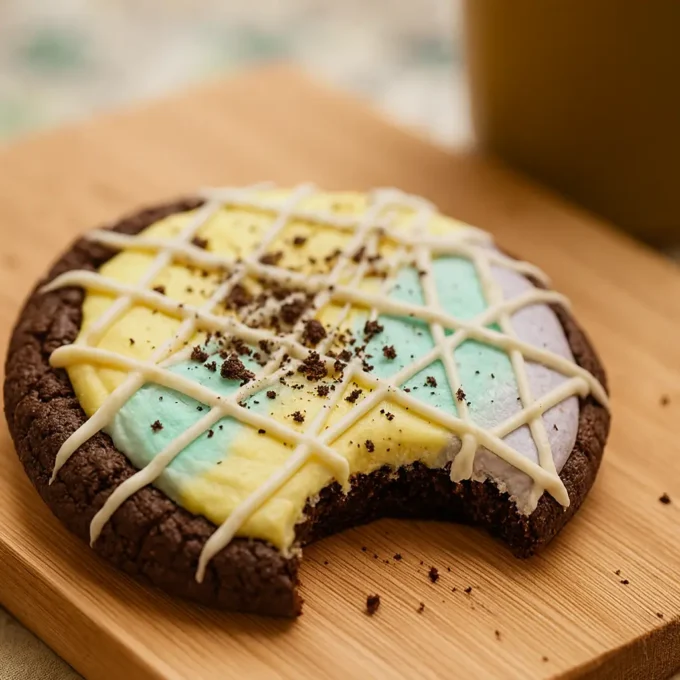
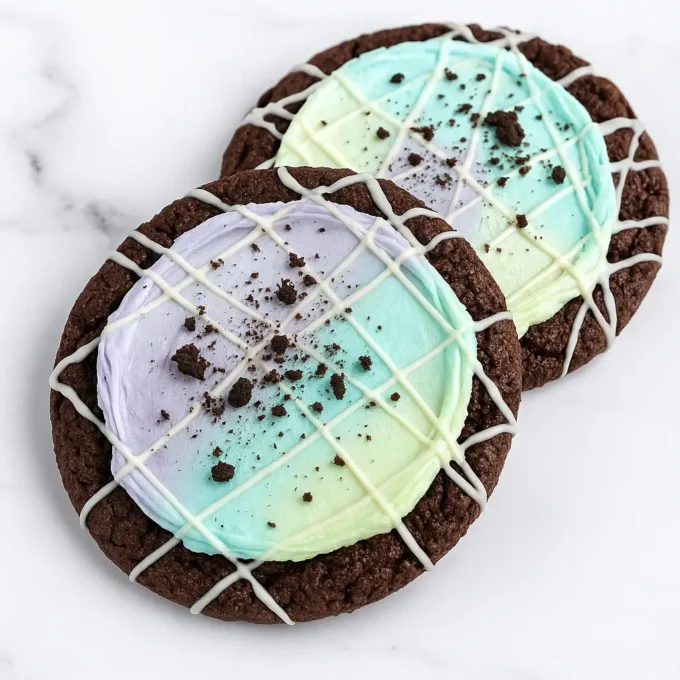
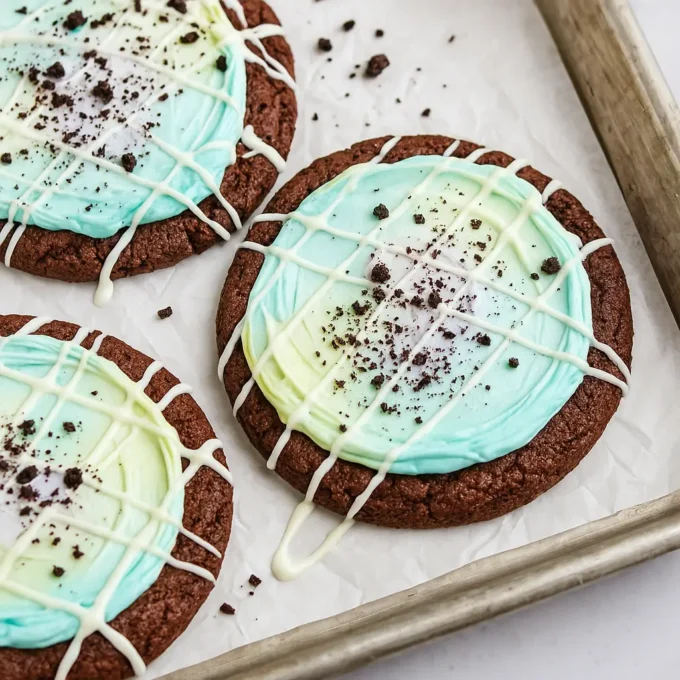
If you’ve already checked out my Crumbl Moonbeam Cookie recipe, you’ll see how perfectly the cookie and this ice cream pair up. Together, they’re basically a dessert dream team. In this guide, I’ll show you exactly how to make Moonbeam Ice Cream at home: ingredients, step-by-step instructions, tips, mistakes to avoid, and FAQs.
What is Moonbeam Ice Cream
Moonbeam Ice Cream is a no-churn pastel swirl ice cream inspired by Crumbl’s playful dessert branding. It’s recognizable for its galaxy-like swirls and its flavor combo: vanilla, fruity berry, and a touch of lemon. It’s not heavy like fudge-based ice creams, and it’s not overly tangy like sorbet—it sits right in the middle, creamy and balanced.
I think what makes it stand out is that it’s both nostalgic and new. It has the vibe of an old-fashioned birthday cake ice cream, but the pastel colors give it a modern, Instagram-worthy spin. Plus, it’s surprisingly easy to make at home with simple tools.
Moonbeam Ice Cream Ingredients
Here’s everything I use when I make Moonbeam Ice Cream at home.

Base:
- 2 cups heavy whipping cream (cold)
- 1 can (14 oz) sweetened condensed milk
- 1 teaspoon vanilla extract (or alcohol-free if you prefer)
Flavor Boosts & Color Swirls:
- 1 teaspoon lemon extract
- 1 teaspoon raspberry extract (or strawberry if you prefer)
- 2 tablespoons freeze-dried berry powder (for natural color & flavor)
- Gel food coloring: blue, purple, yellow (a drop or two of each)
Optional Toppings:
- Mini marshmallows
- Crushed Oreos or chocolate wafers
- White chocolate drizzle
Ingredient Notes:
- Heavy cream: Make sure it’s very cold; it whips up fluffier.
- Extracts: Choose good-quality extracts—cheap ones can taste artificial.
- Freeze-dried berries: They’re my secret weapon. They add flavor without watering down the base. You can find them online or in most grocery stores.
- Food coloring: Gel works better than liquid. It keeps colors bright without thinning the cream.
Equipment You’ll Need
- Hand mixer or stand mixer with whisk attachment
- Large mixing bowls (at least 3–4 for dividing colors)
- Spatulas
- Freezer-safe loaf pan or ice cream container
- Optional: piping bags for neater swirls
Do you need an ice cream maker?
No! This is a no-churn recipe. You just whip the cream, fold it into the sweetened condensed milk mixture, divide, color, swirl, and freeze. That’s it. But if you own an ice cream maker, you can absolutely churn the base for an even smoother scoop.
Step-by-Step Instructions
Step 1: Whip the Cream
Pour the cold heavy cream into a large mixing bowl. Using a hand mixer or stand mixer, whip on high until stiff peaks form (about 3–4 minutes). Set aside.
Step 2: Make the Base
In another bowl, mix the sweetened condensed milk with vanilla, lemon, and raspberry extracts. Stir in the freeze-dried berry powder until smooth.
Step 3: Fold and Divide
Gently fold the whipped cream into the condensed milk mixture until fully combined. Divide the mixture into three bowls.
Step 4: Color the Mix
Tint each bowl with a different gel food coloring: one blue, one purple, one yellow. Stir lightly—don’t overmix or you’ll lose the pastel look.
Step 5: Swirl and Freeze
In your loaf pan, alternate spoonfuls of each color mixture. Use a spatula or butter knife to swirl gently. Cover with plastic wrap and freeze at least 6 hours (overnight is best).
Step 6: Scoop and Serve
When ready, scoop into bowls or cones. Garnish with crushed Oreos, marshmallows, or a drizzle of white chocolate if you like.
Notes & Tips
- Keep it cold: Chill your mixing bowls for 10 minutes before whipping cream. It makes a noticeable difference.
- Gentle folding: Don’t stir too aggressively when combining cream and condensed milk—you’ll lose the airy texture.
- Swirl lightly: Too much swirling turns colors muddy. A couple of figure-eights with a knife is plenty.
- Storage: Store in an airtight container to avoid freezer burn.
Mistakes to Avoid
- Over-whipping cream: If you whip past stiff peaks, it turns grainy and won’t fold smoothly.
- Over-coloring: Gel food coloring is strong; too much can give the ice cream a bitter aftertaste.
- Freezing in shallow dishes: Ice cream stored in shallow containers can crystallize quickly. Use a deeper loaf pan.
- Impatience: If you try to scoop before the full 6-hour freeze, it’ll be too soft and messy.
- According to the FDA’s guidance on color additives, gel food coloring is safe when used as intended.
- Freeze-dried berry powder is a smart choice since it keeps flavor strong without extra liquid, and research shows freeze-dried fruit retains many nutrients
Serving Suggestions
I love scooping Moonbeam Ice Cream into waffle cones so the colors peek through with every bite. It also looks great in a clear glass cup for Instagram shots. For an indulgent twist, sandwich it between two Crumbl Moonbeam Cookies—that combo is as close to dessert heaven as it gets.
Nutritional Values (Per Serving, Estimated)
- Serving Size: ½ cup
- Calories: ~280
- Fat: 15 g
- Carbohydrates: 32 g
- Sugar: 30 g
- Protein: 4 g
- Sodium: 55 mg
- Cholesterol: 60 mg
Disclaimer: Nutrition facts are estimates. Values vary depending on ingredient brands and portion sizes.
Frequently Asked Questions
What is Moonbeam Ice Cream made of?
It’s a no-churn ice cream base (whipped cream + sweetened condensed milk) flavored with vanilla, lemon, and berry extracts, plus pastel gel food coloring for the signature swirl.
Do I need an ice cream maker to make Moonbeam Ice Cream?
No, this recipe is no-churn. You just whip, fold, color, swirl, and freeze. If you do have a machine, you can churn the base for a creamier finish.
How long does homemade Moonbeam Ice Cream last in the freezer?
Stored properly in an airtight container, it lasts about 2 weeks. After that, the texture may become icy.
Can I make Moonbeam Ice Cream dairy-free?
Yes. Use coconut cream instead of heavy cream and sweetened condensed coconut milk instead of the regular kind. The texture stays creamy, though the flavor will lean coconutty.
Moonbeam Ice Cream recipe

Equipment
- Hand mixer or stand mixer
- Mixing bowls
- Spatulas
- Freezer-safe loaf pan or container
Ingredients
Ice Cream Base
- 2 cups heavy whipping cream very cold
- 14 oz sweetened condensed milk
- 1 tsp vanilla extract or alcohol-free
Flavor Boosts & Swirls
- 1 tsp lemon extract
- 1 tsp raspberry extract or strawberry extract
- 2 tbsp freeze-dried berry powder for natural color and flavor
- gel food coloring blue, purple, yellow
Optional Toppings
- mini marshmallows
- crushed Oreos or chocolate wafer cookies
- white chocolate drizzle
Instructions
- Whip the cold heavy cream with a mixer until stiff peaks form (about 3–4 minutes). Set aside.
- In another bowl, combine sweetened condensed milk with vanilla, lemon, and raspberry extracts. Stir in freeze-dried berry powder until smooth.
- Gently fold the whipped cream into the condensed milk mixture until well combined. Divide into three separate bowls.
- Tint each bowl with a different gel food color—blue, purple, and yellow. Stir gently to preserve pastel tones.
- Spoon mixtures into a loaf pan, alternating colors. Swirl lightly with a spatula or knife. Cover and freeze for at least 6 hours (overnight is best).
- Scoop into bowls or cones and garnish with optional toppings like marshmallows, crushed cookies, or white chocolate drizzle. Serve chilled.
Notes
Final Thoughts
Making Moonbeam Ice Cream at home is surprisingly easy, and the payoff is huge. You get a creamy, colorful dessert that looks like it came straight out of a bakery case, but it’s made with ingredients from your own kitchen.
I’d love to see your swirls! If you try this recipe, drop a rating below and share a picture. Did you keep the classic blue, purple, and yellow? Or did you remix it with your own pastel palette? For extra fun, pair your scoops with a Crumbl Moonbeam Cookie and taste how the two desserts play off each other.


3 Comments